
Installation process
- First step is removing old shingles from the roof to get to plywood. This step is of course necessary on new constructions. Some contractors will leave shingles over the roof, however that increases the weight of the roof significantly and may reduce wind resistance of your new roof, as longer screws will be required to reach plywood through shingles.
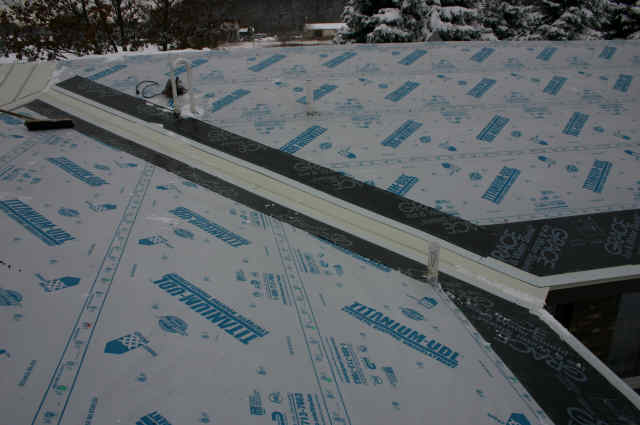
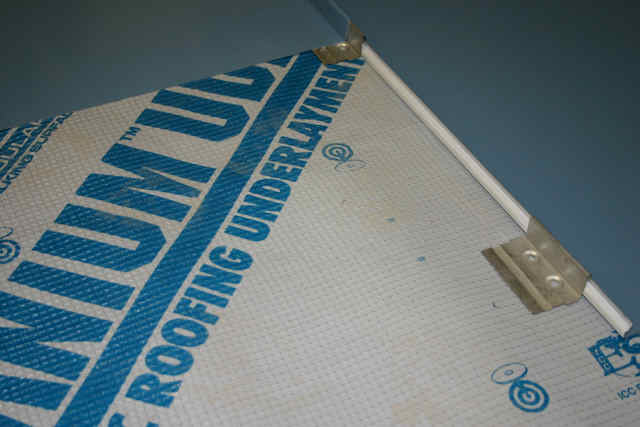
- To avoid possbile leaks, immidiately after removing shingles we apply synthetic roofing underlayment Titanium UDL-30, which can resist weather, wind and sunlight for 6 months and longer in some cases. This underlayment's surface also dramatically increases safety of workers - it is easy to walk on it even when it is wet or covers with snow.
-
Next valley pans and drip edge are installed, followed by starter cleat (piece of trim that will hold the bottom of the panel to the roof and prevent all possbile leaks). These pieces of trim will be overlapped by roofing panels, so they are installed first.
-
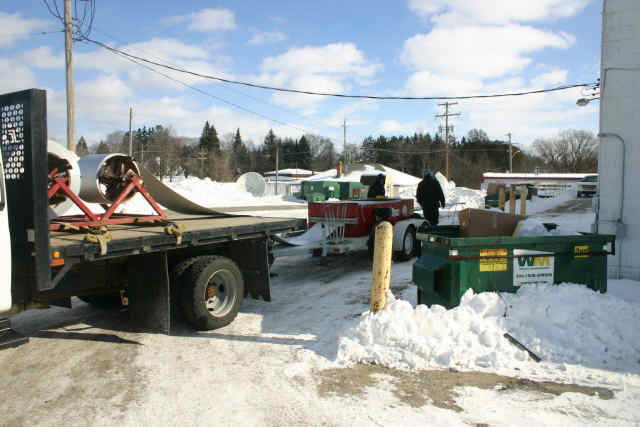
When the roof is ready, the roll forming machine will be used to manufacture roofing panels right on the site, and the panels will be cut as they are produced to the correct lengths for your roof. This reduces waste and transportation damage.
-
The bottom edge of each panel is folded to lock at the edge of the roof, as shown in the following picture. One side of the panel is then attached to the roof using clips and screws. Note that the screws do not penetrate the panel, and get covered by the next panel.

-
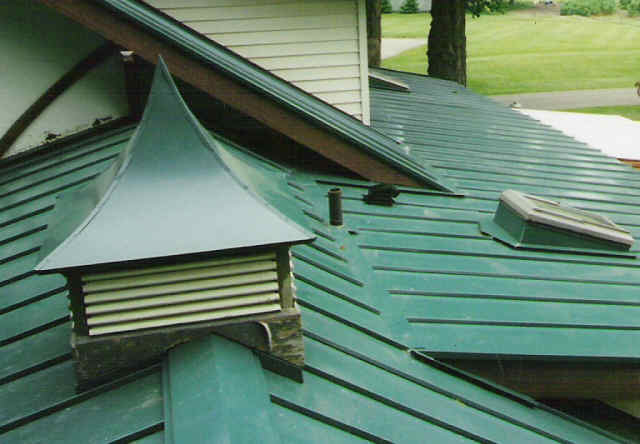
After the whole surface of the roof is covered with panels, the trim that overlaps the panels is installed, and the roof is complete!

-
Having skylights, slope changes, or large number of surfaces in general will result in increase in price due to more labor needed.
Contact
Riegle Exteriors LLC2431 Refinery Rd
West Branch, MI 48661
1(989)345-2495
rieglemetals@yahoo.com